
INSTALLATION GUIDES / GRILLE LIGHTING
Grille Lighting Instructions
Plan your strip placement, secure the lighting behind the grille, route the wiring, and test your setup before reassembly.
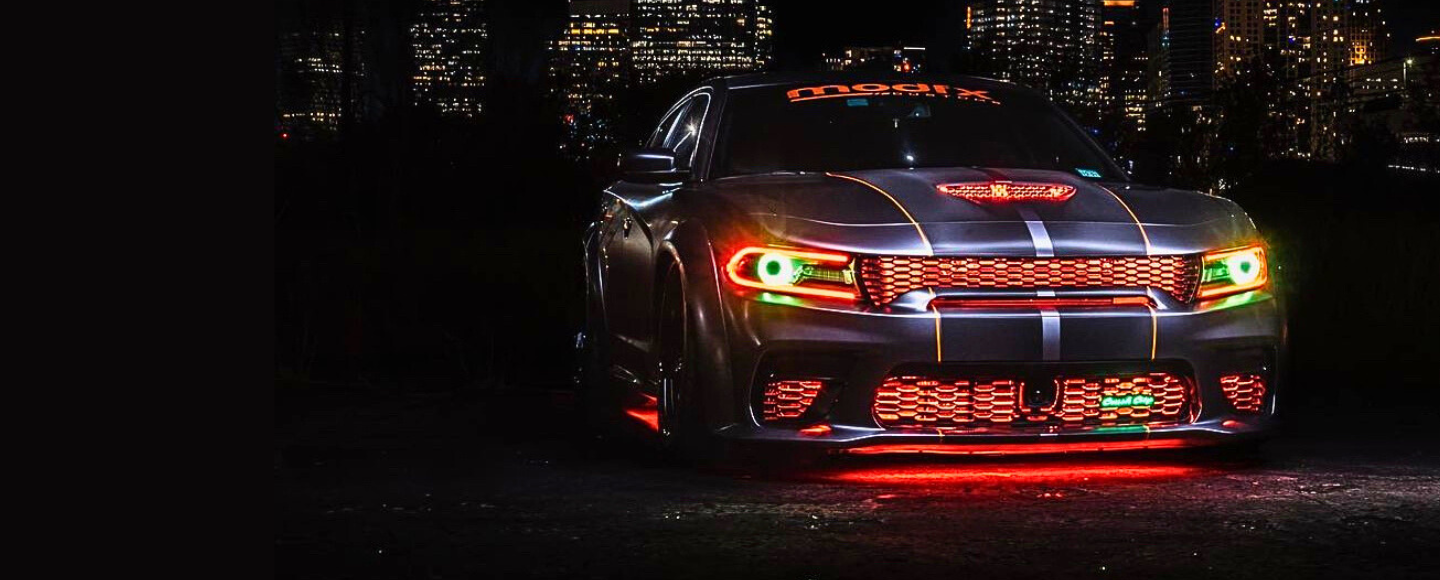
How do you install grille LED lighting?
Test your kit and choose protected mounting locations behind the grille. Clean the surfaces, secure the LED strips with the supplied adhesive and suitable additional support, then route the wires to the controller. Connect power according to the kit instructions and test before reinstalling the bumper or removed trim.
Guide by Lighting Trendz · Updated October 27, 2026
Step 1: Plan Your Installation
Inspect the vehicle before removing parts. Choose mounting locations behind the grille or bumper that illuminate the grille while keeping the strips themselves hidden from direct view.
- Check access, strip fit, wire length, and the controller location.
- Keep lighting and wiring away from fans, belts, moving parts, sharp edges, and excessive heat.
- Keep radiator airflow, sensors, and service access clear.
Test the strips with their specified controller, harness, and power arrangement before mounting. Follow the voltage requirements for your kit and retain any required driver or regulator.
Step 2: Mount the LED Strips
- Access the mounting area using the vehicle’s service instructions. Remove the bumper only where needed, following the procedure for any attached wiring or sensors.
- Clean and dry the mounting surface with a cleaner compatible with the material and supplied adhesive.
- Apply adhesive promoter where specified by the adhesive instructions, then mount the strips using the supplied 3M tape.
- Add suitable zip ties for extra security without crushing the strip or blocking the LEDs.
Follow the adhesive instructions for application temperature, pressure, and bond-building time. Check that the strips remain secure and do not interfere with vehicle components.
Step 3: Route the Wires & Mount the Controller
Run the strip wires to the controller and secure them along a protected route. Leave enough slack at connectors without allowing cables to sag, snag, or contact moving parts.
Mount the controller in a location permitted by its instructions, away from direct heat and unsuitable water exposure. Check the controller and connector protection requirements for your kit.
Keep the connectors accessible for inspection and prevent the bumper from pinching wires during reassembly.
Step 4: Connect, Test & Reassemble
- With power disconnected, wire the controller using the power, ground, polarity, fuse, and voltage requirements supplied with the kit.
- Restore power and use the app or remote specified for your exact controller.
- Test every strip and the supported colors or effects before refitting the bumper.
- Reinstall removed components using the vehicle’s instructions. Check wiring clearance and test the lighting again.
Inspect the mounting and connections periodically, especially after bumper or front-end service.
Common Questions
Do I have to remove the bumper?
Access varies by vehicle. Remove the bumper only where needed and follow the vehicle’s procedure for attached wiring and sensors.
Where should grille LED strips be mounted?
Choose suitable mounting points behind the grille or bumper that hide the strips while allowing their light to illuminate the grille. Keep airflow, sensors, moving parts, and service access clear.
Is the supplied adhesive enough?
Prepare the surface and apply the tape as instructed. This guide recommends suitable zip ties for additional security without crushing the strip.
Which app should I use?
Use the app identified by your exact controller’s QR code or supplied instructions. App and wiring requirements vary by controller.
Need More Assistance?
Contact our team with your vehicle, lighting kit, controller model, and photos of the planned installation.