
INSTALLATION GUIDES / INTERIOR LIGHTING
Flow Series Footwell Lighting Installation Guide
Install the plug-and-play footwell kit with four light strips, the included Bluetooth controller, and MotoAuto app control.
How do you install plug-and-play footwell lights?
Test the kit using its supplied 12V accessory plug, then clean the mounting surfaces and attach the four strips under the dashboard and front seats. Secure the wiring clear of pedals and moving parts, reconnect power, and use MotoAuto to control the lights.
Guide by Lighting Trendz · Updated October 27, 2026
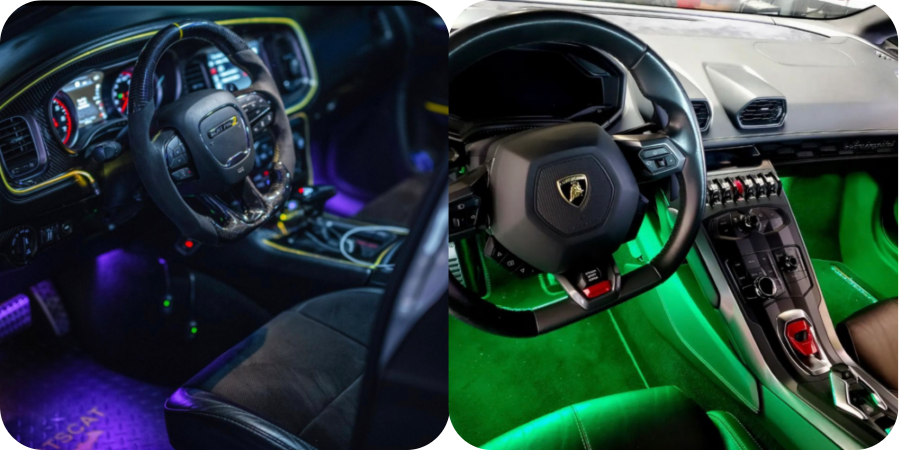
1. Gather & plan
This guide is for the Lighting Trendz Plug & Play RGB Flow Series Footwell Kit: four 12-inch strips, mounting tape, and an included Bluetooth controller.
- Footwell kit with its supplied harness and accessory plug
- A compatible vehicle 12V accessory outlet
- Surface-safe cleaner and a clean cloth
- Phone with Bluetooth and the MotoAuto app
- Optional zip ties or adhesive wire clips (not included)
Plan one strip for each front footwell and one beneath each front seat for the rear footwells. Keep the strips and wires clear of pedals, seat rails, moving seats, airbags, and foot traffic.
2. Connect & test
Before peeling off any mounting tape, lay out the strips and check that the wires reach each mounting location.
- With the accessory plug disconnected, match and secure the kit’s labeled strip/controller connections. Do not force connectors.
- Plug the supplied harness into your vehicle’s 12V accessory outlet. Some outlets require the ignition or accessory mode to be on.
- Confirm that all four strips light up and respond to the included controller through MotoAuto.
- Unplug the kit before mounting or adjusting connections.
Use the supplied complete power harness. The 12V accessory-outlet connection applies to this plug-and-play kit; it does not mean individual LED strips can be wired directly to 12V.
3. Clean & mount
- Choose flat, hidden mounting surfaces under the dashboard and front seats. Check the full seat travel before choosing the rear-strip locations.
- Clean the surfaces with a cleaner suitable for the material. Rubbing alcohol may be used where compatible; let the surface dry completely.
- Remove the red backing from the pre-installed 3M tape.
- Press each strip firmly into place for 10–15 seconds. Follow any additional instructions supplied with the mounting tape.
Keep the light directed toward the footwell, with the strip protected from shoes. Adhesion depends on surface condition and material.
4. Secure the wiring
Tuck the wiring neatly behind suitable trim where possible. Use zip ties or adhesive clips to secure excess wire without pulling on connectors.
Check pedal movement and the full travel of each seat again. Leave appropriate slack for moving seats, while keeping wires away from rails, hinges, sharp edges, and pinch points. Do not route wiring through airbag deployment areas.
5. Set up MotoAuto
- Reconnect the accessory plug and power the kit.
- Download MotoAuto for your phone using the links below or the instructions supplied with your controller.
- Enable Bluetooth and allow the app’s Bluetooth access when prompted.
- Open MotoAuto and select your controller inside the app.
- Test colors, brightness, patterns, and effects before finishing the installation.
Compatible dash trim lighting can also be controlled through MotoAuto. Confirm that both controllers support the app before setting up coordinated lighting.
Troubleshooting
No strips light up
Check that the accessory plug is seated and the vehicle outlet has power. Disconnect the plug before checking the kit’s connectors. If the outlet requires accessory mode, follow your vehicle’s instructions.
One strip does not light up
Unplug the kit and inspect that strip’s labeled connection and wire route for a loose plug or pinched wire. Reconnect securely and retest.
Controller does not appear in MotoAuto
Confirm that the kit has power, Bluetooth is enabled, and MotoAuto has Bluetooth access. Look for the controller inside the app. Follow the supplied controller instructions if your version differs.
A strip will not stay mounted
Unplug the kit, clean and dry the mounting surface, then replace the mounting tape or use a suitable adhesive mount. Recheck that wiring tension is not pulling the strip loose.
Common Questions
Does this footwell kit need hardwiring?
The plug-and-play kit uses its supplied harness connected to a vehicle 12V accessory outlet. Follow the instructions supplied with your kit if your hardware differs.
Which app controls the footwell kit?
The included Bluetooth controller uses MotoAuto. Enable Bluetooth and connect to the controller inside the app.
Where do the four strips mount?
Mount two strips under the front dashboard for the driver and passenger footwells, and two beneath the front seats for the rear footwells. Choose suitable surfaces and keep clear of pedals and moving seat parts.
Can I sync footwell lighting with dash trim lighting?
Compatible controllers can be controlled through MotoAuto. Both controllers must support the app; check your dash trim controller before attempting coordinated control.
Need Help With Your Installation?
Contact our team with your kit details, vehicle, and photos of the connections.